
Diagnosing Yellow Leaves on Container Grown Plants
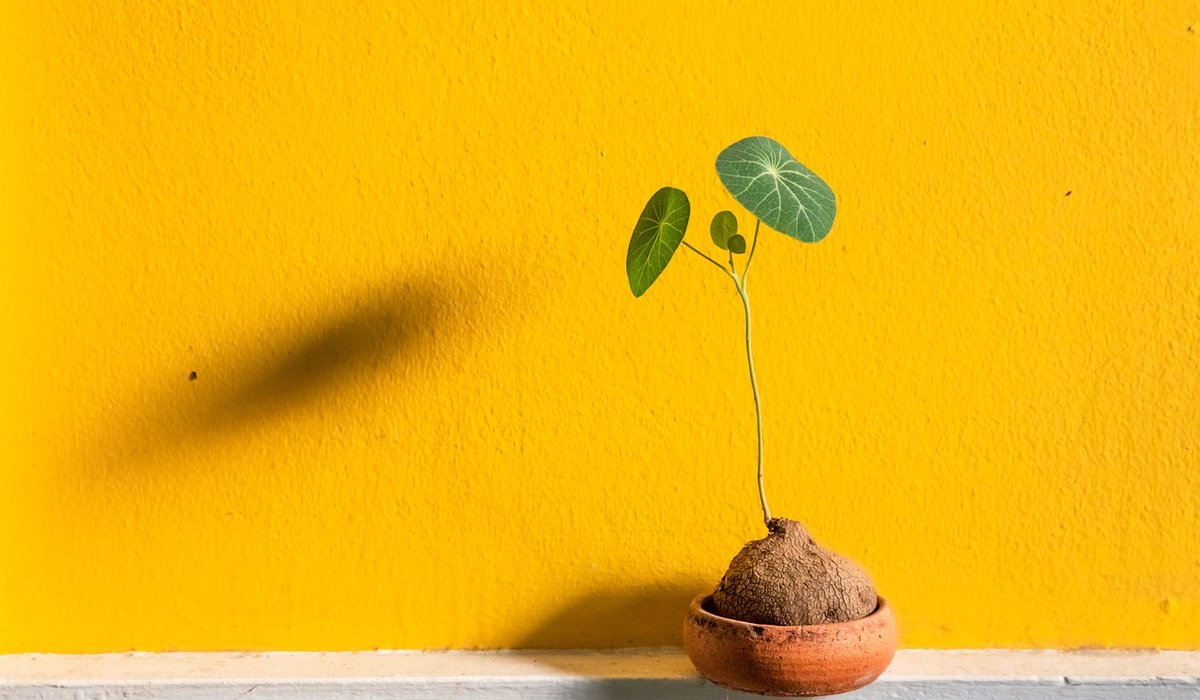
Yellow leaves on a container plant are rarely a mystery illness. They are a message, and pots simply deliver it faster than borders do. In a container the root run is tiny, the compost is the whole world, and a mistake with water or feed shows up within days. Work through the four usual suspects — water, drainage, nutrients and light — and you will normally find your answer before lunch.
Water First: Too Much or Too Little?
Watering is behind most yellowing in pots, and the two extremes can look oddly similar at a glance. The giveaway is which leaves turn yellow and how they feel.
- Overwatering: lower and middle leaves go soft, limp and pale yellow, sometimes with brown mushy tips. Compost smells sour, and the surface may develop a green film of algae. The roots are suffocating, so the plant wilts even though the compost is soaking.
- Underwatering: leaves dry out and yellow from the edges inwards, feeling crisp rather than limp. Compost shrinks away from the pot sides, so water pours straight down the gap and out of the bottom without touching the roots.
Test before you water. Push a finger 3–4cm into the compost, or lift the pot: a recently watered 5-litre pot has real weight to it, while a dry one feels alarmingly light. Water thoroughly in the morning, soaking the whole rootball until it runs from the base, then wait until the top couple of centimetres has dried before repeating. Little and often is the usual culprit on sunny balconies.
Drainage, Compost and Roots
If water sits in the pot, yellowing will keep coming back no matter how careful you are. Every container needs at least one drainage hole that is not blocked. Empty saucers within an hour of watering, and lift pots onto feet or a couple of bricks so they are not sitting in a puddle.
- Compacted compost: after a season, peat-free mixes can slump and lose structure, holding water like a sponge. Refresh the top 5cm, or repot into fresh mix with added grit or bark.
- Root rot: brown, slimy, bad-smelling roots mean the plant has been wet too long. Trim the damaged roots, repot into fresh compost with extra grit, and water far more sparingly for a fortnight.
- Root-bound plants: a solid mat of roots circling the pot cannot take up water or nutrients properly, and yellowing often follows. Move up one pot size in spring or early summer.
Feed the Pattern You Can See
After six to eight weeks, most composts have run out of steam, and hungry plants tell you in colour. Match the pattern to the nutrient.
- Nitrogen: the whole plant looks pale and tired, with the oldest leaves at the bottom going yellow first. Use a balanced liquid feed weekly through the growing season.
- Iron and manganese: new leaves yellow between green veins. Common in acid-lovers such as camellias, blueberries and rhododendrons grown in tap water and ordinary compost. Switch to an ericaceous mix and, where you can, collect rainwater.
- Magnesium: older leaves turn yellow between the veins while the veins stay green. A dose of Epsom salts in water usually corrects it within a couple of weeks.
- Potassium: leaf edges scorch and yellow, often on tomatoes and peppers in fruit. Change to a high-potash tomato feed.
Feed little and often rather than in one strong dose. Overfeeding causes a salt build-up that locks out other nutrients, which also shows up as yellowing — flush the pot with plain water and skip a feed if in doubt.
Light, Position and Temperature
Pale, small, yellow-green leaves on a stretched, leggy plant usually mean too little light. Balconies in deep shade, north-facing walls and crowded windowsills all take their toll; move the plant somewhere brighter, turning it weekly so it grows evenly. Conversely, sudden full sun after a spell indoors or in a greenhouse can scorch leaves to a bleached yellow-white, especially on tender foliage. Harden plants off gradually over a week. Cold also matters: chilled roots in early spring stop taking up nutrients and the leaves yellow until the compost warms again, so insulate pots or hold off planting until May.
Pests, Disease and Compost Problems
Look closely at the underside of leaves and at the compost surface. Vine weevil grubs are a classic container problem — white, C-shaped larvae that eat roots, leaving plants yellow, wobbly and wilting. Aphids, whitefly and red spider mite weaken plants and leave sticky honeydew that encourages sooty mould. A gentle wash with water, prompt removal of affected leaves, and better airflow usually sort out a light infestation. Be wary of homemade compost made with grass treated by weedkiller, which can cause distorted, yellow growth for a season or more.
A Two-Week Recovery Plan
- Check the drainage hole, empty the saucer and lift the pot clear of standing water.
- Feel the compost 4cm down and adjust your watering rhythm accordingly.
- Snip off yellowed leaves so you can see clearly whether new ones stay green.
- Feed at half strength weekly, and switch to a high-potash feed once flowers or fruit appear.
- Move the pot to the brightest spot it can tolerate, out of harsh midday sun and strong wind.
- After ten days, if nothing improves, tip the plant out and inspect the roots — repotting is often the quickest fix.
Yellow leaves are a nudge, not a verdict. Change one thing at a time, give the plant a fortnight to respond, and you will soon read your containers as easily as the rest of the garden.

4 Comments